
you will need:
scissors
A4 paper - 1 piece
eyelets {also eyelet tools & hammer}
embroidery floss or twine
2 small circles out of coordinating scraps of paper
optional
1 photo
lace or ribbon
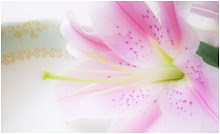
flowers
stickers
other embellishments

To begin i made an envelope template. i did this from folding my piece of paper around an existing envelope.

i scooted the top of the envelope down a little to make the top flap large enough to hold a circle clasp.

Then i trimmed around & tidyed up the outline.

The next step is to glue it together.
Now you have a working envelope!

but you can continue to make it a little extra special...
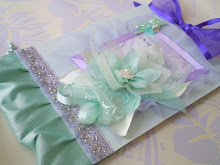
after gluing on the photo i glued two layers of lace around it to frame it.
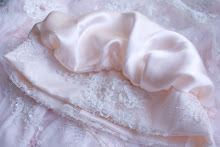
to make a flower, i cut a strip of fabric & folded it so that the back half is longer than the front half. then rolled it up at the base & secured it with a pin. i made two of these. adding a paper flower, a ribbon, some sparkly stickers & a folded flower finished the front.

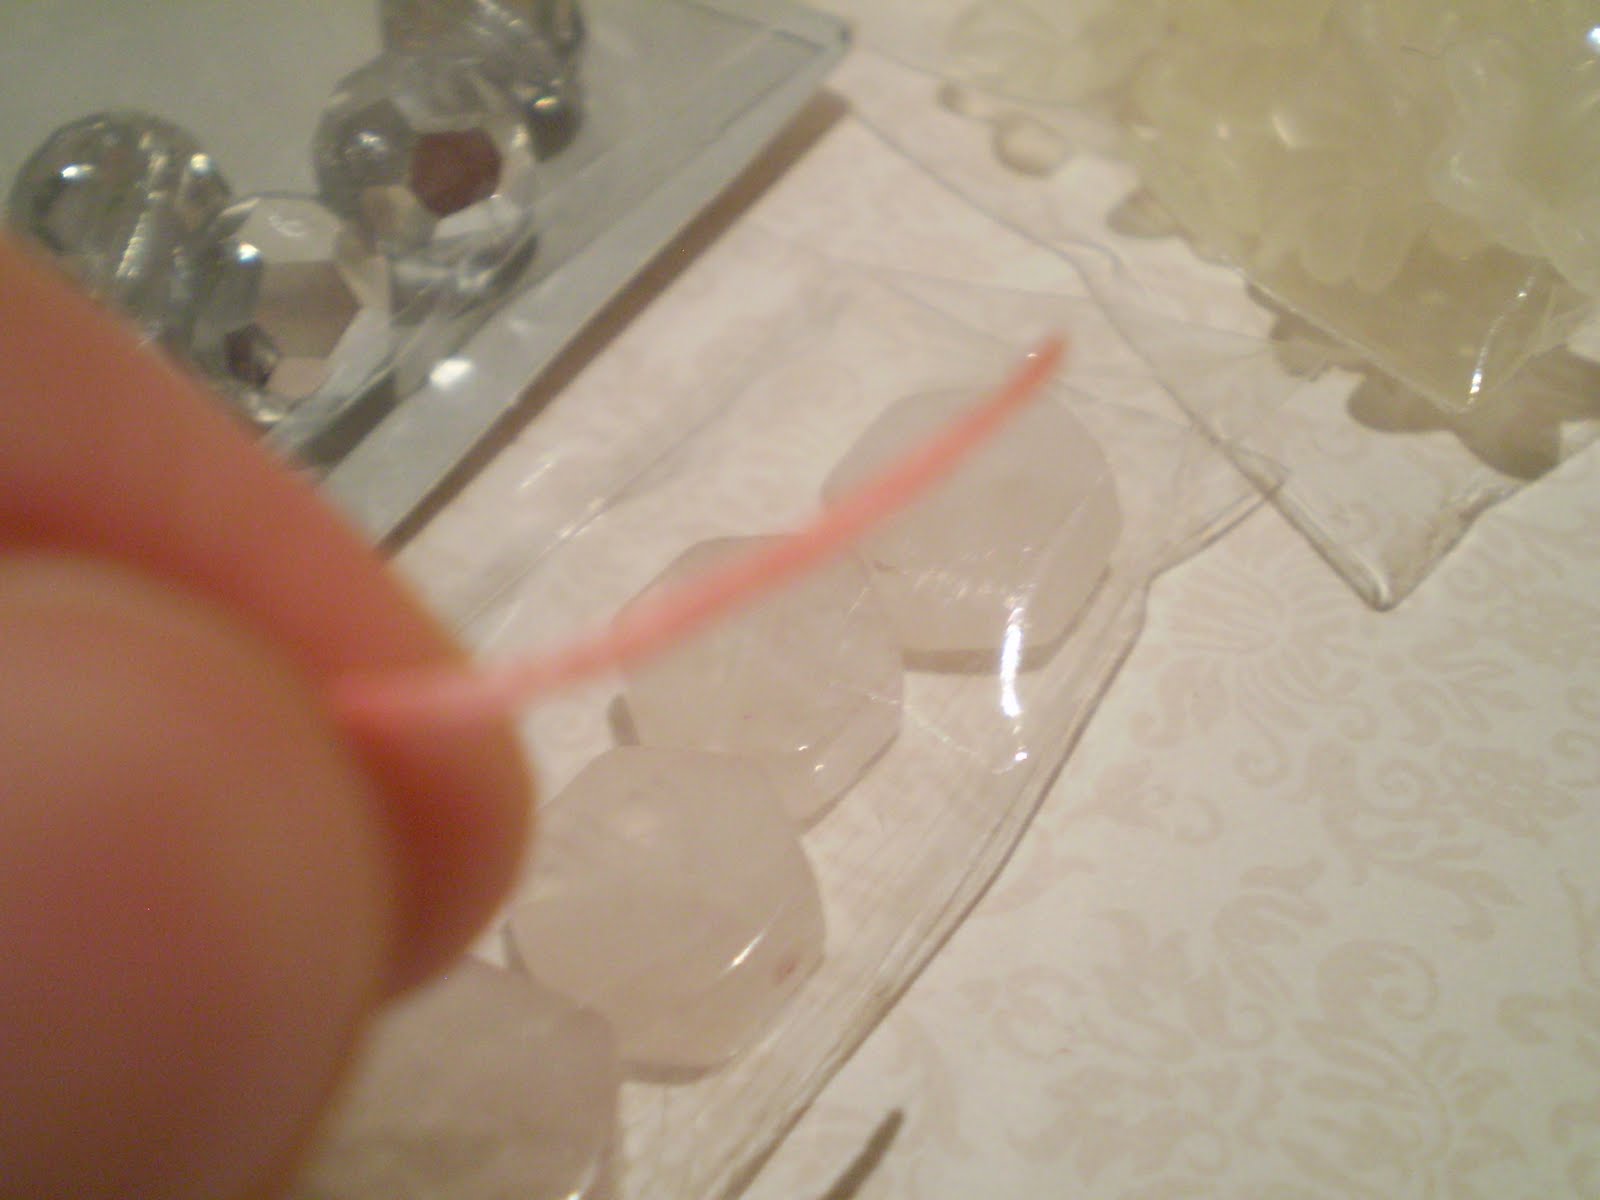
next cut two small circles for the clasps at the back. i usually buy a packet of eyelets from the sewing section at Spotlight because they're only $3 & come with the tool.
punch or poke a hole in the middle & place an eyelet in it.

turn it iver & using the tool, hammer the eylet in place. its quite a simple way to make something look very sophisticated. then i attached some lace around one. be sure to poke the embroidery flos through one eyelet so it is secure enough to wrap around the other to close your envelope. {you can attach these directly to the envelope in the beginning or as i did, use a little glue later on.

These are my favourite type of envelope!!! i had hoped to make a template for you but have no idea how as yet :)

im grateful to
Cape Cod Rambling Rose for inspiring me with this challenge!!!

loveliest wishes for everyone today

.JPG)


.JPG)


.JPG)


.JPG)


.JPG)


.JPG)


.JPG)


.JPG)


.JPG)


.JPG)


.JPG)


.JPG)
